Best Practices for 3D Printing
When I first got a 3D printer, I was a little disappointed with the print quality, to be honest. But after using it for a while and fine-tuning some of the settings, I've started to get better results and a sense for what works and what doesn't. I'll share some tips and tricks, and hopefully they'll be useful to others. I have a ROBO3D and use Repetier-Host and Slic3r software but I expect these tips to be widely applicable for 3D printing, especially with poly-lactic acid (PLA).
As mentioned above, I got better results once I adopted these practices.
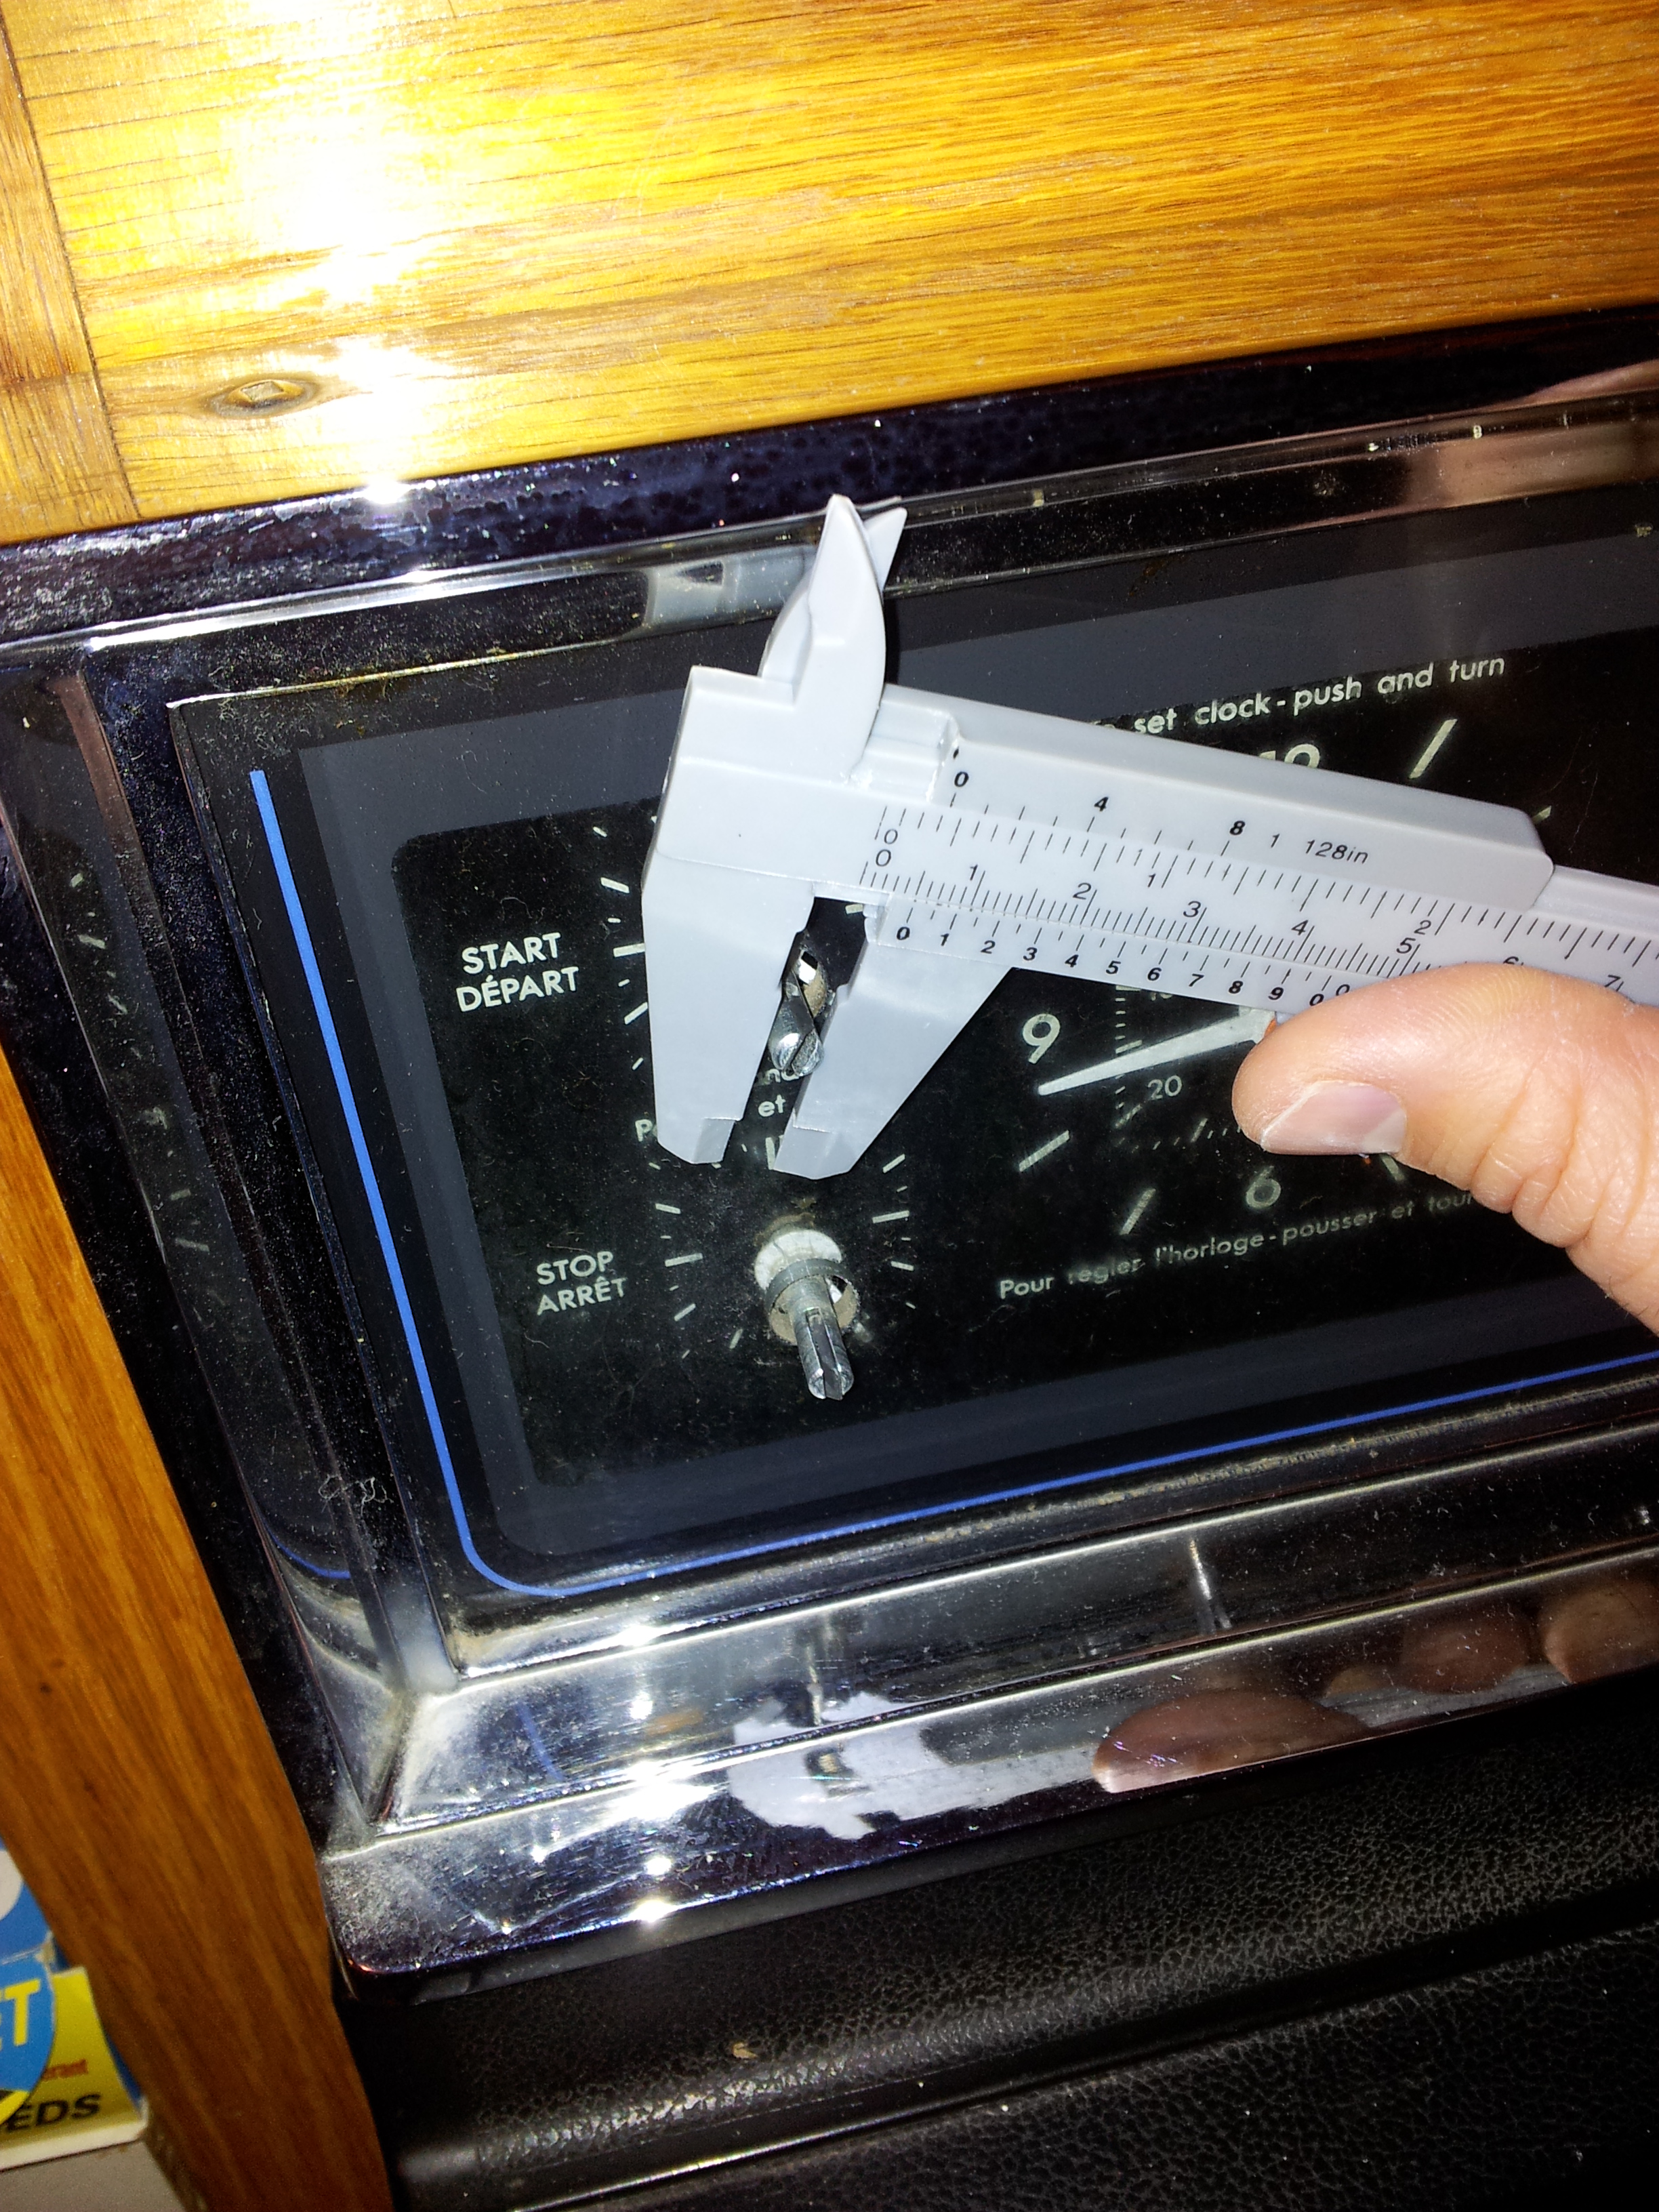
- Precision is important. Get a pair of calipers and feeler gauges. I used feeler gauges to level the bed and set the zero height on the z-axis (0.05 mm). I used calipers to measure the true diameter of my filament (which differed from the nominal diameter of 1.75, but it is sold by weight, so I don't think the supplier was ripping people off) and enter that in the software. Calipers are also handy to have if you want your printed pieces to fit with some existing object.
- Set the slicing software (i.e. Slic3r) to avoid crossing perimeters when not printing to avoid hot filament continuing to drip and producing a "spider web" effect.
- The initial layer seems to work better at a greater thickness (e.g. 0.35 mm). Other layers can be set at 0.1 or 0.2 mm for fine-grained detail.
- If you make your own designs, consider "printability"; for example, try to keep the widest dimensions at the base whenever possible.
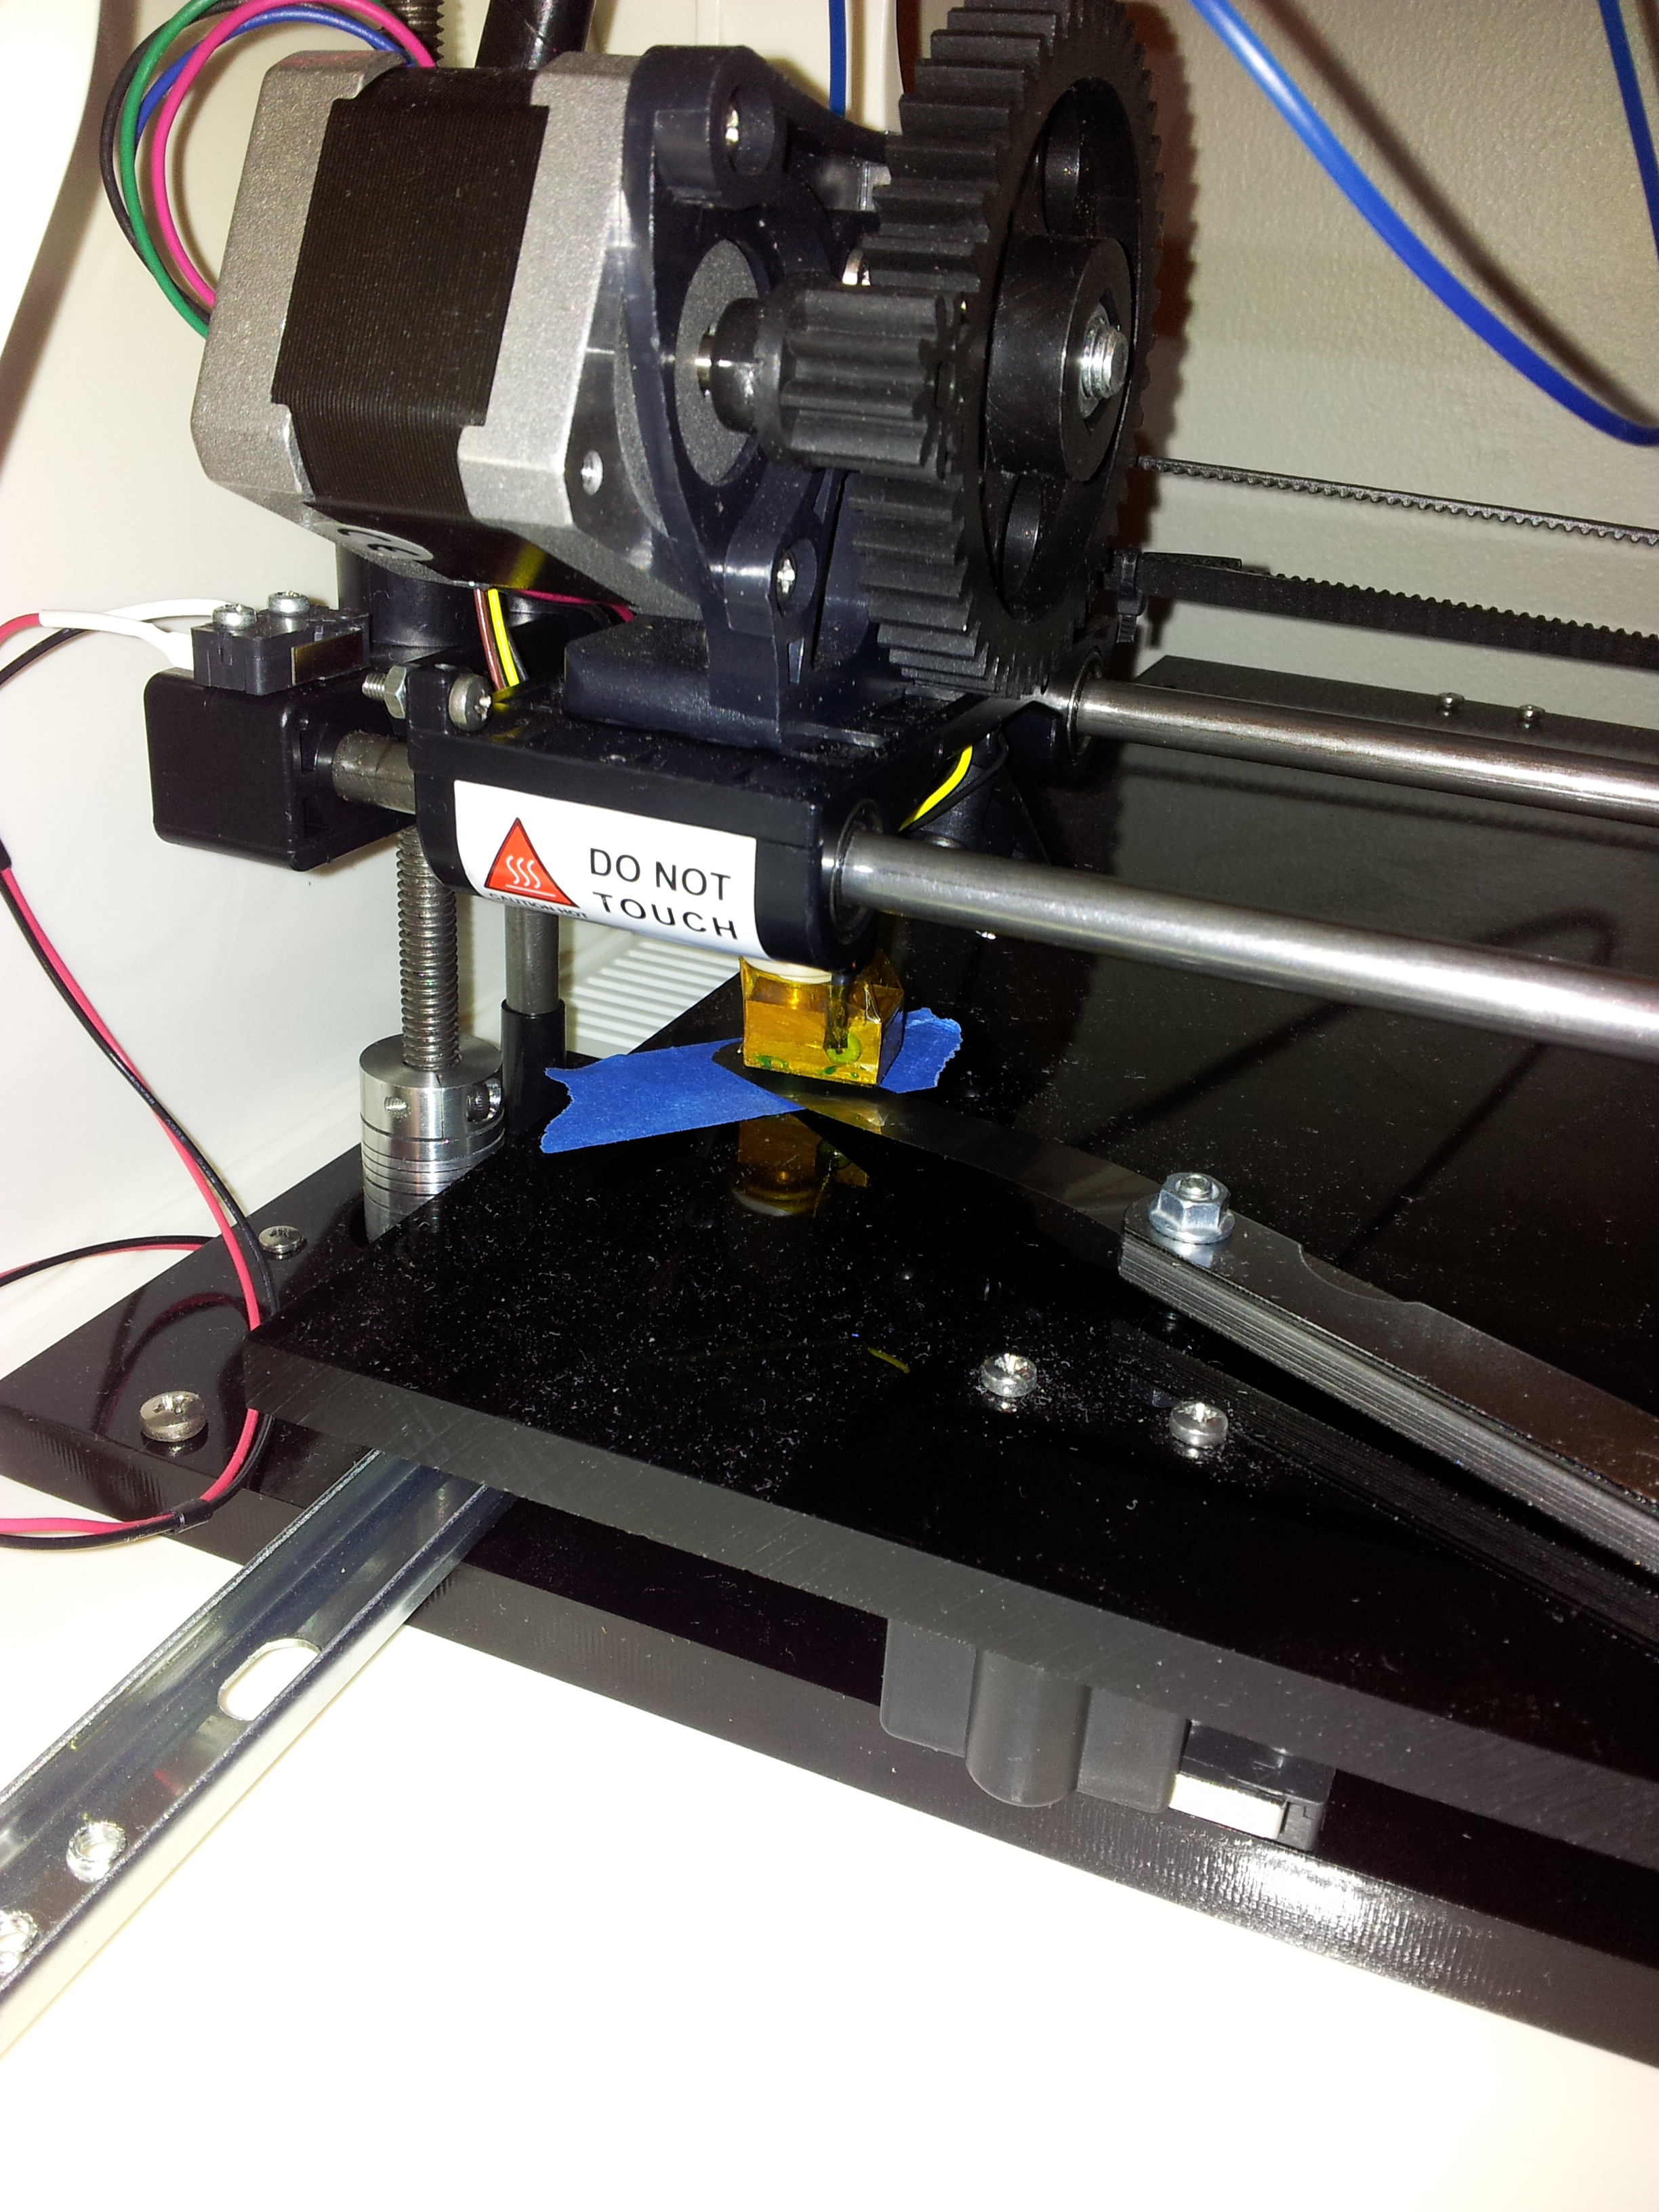
- An effective surface for printing is blue painter's tape liberally wiped/wetted with rubbing alcohol (isopropyl). The painter's tape can be peeled off the print bed to assist with removing the finished piece smoothly. I haven't looked into why the isopropyl alcohol works, but it does seem to make a difference.
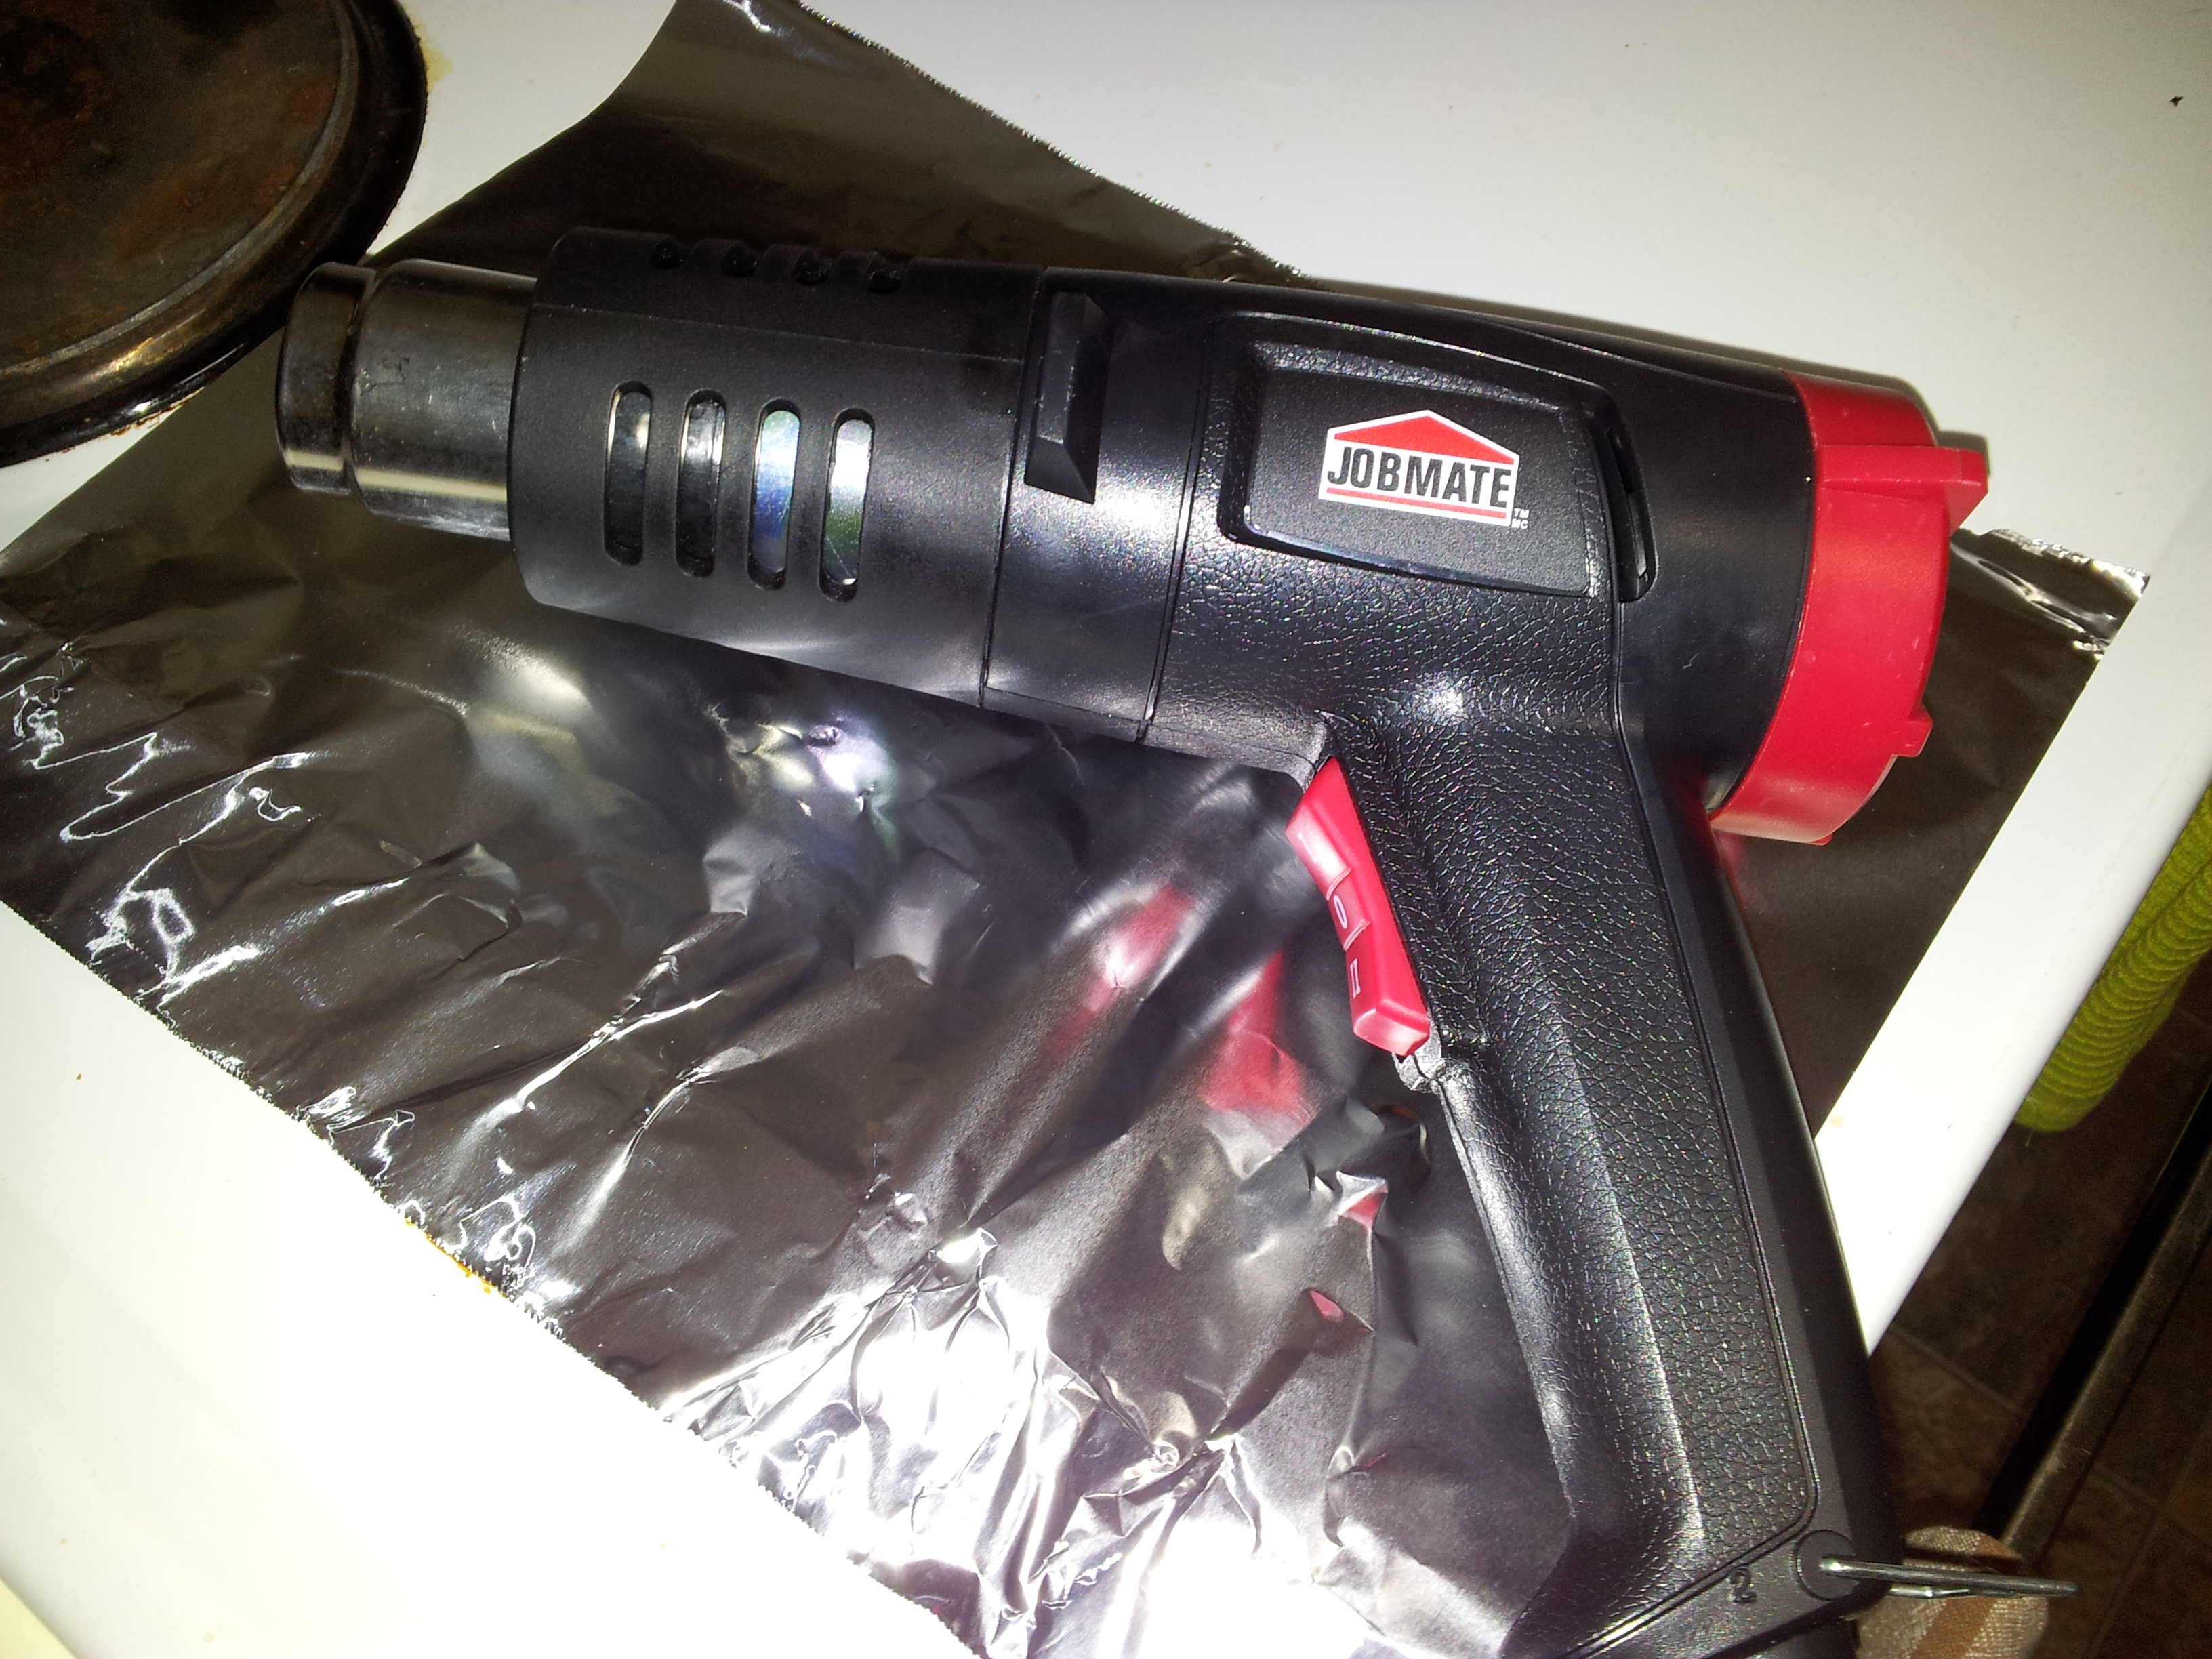
- Consider doing some post-processing. At a minimum carefully clip away stray strands of plastic with scissors or a knife. A more advanced possibility (exercise extreme caution) is to use a heat gun to partially melt the outer layers for a smoother appearance. I've heard of people getting the same effect on ABS printed pieces with acetone.
- Something I'm starting to get more experience with is the necessary tolerances that a design should have. If you are making moving parts that need to fit together (e.g. a shaft and a hole), the inner part needs to have smaller dimensions than the outer. As a starting value, I'd recommend that the diameter of the inner part be at least 0.4 mm smaller than the diameter of the outer part—or be prepared to shave them down after printing until they fit.
- Temperature of the print head isn't something I've spent a lot of time adjusting, but other people say it can be important. I use a temperature of 185ˆC (except for the first layer), but apparently filament from different suppliers works better at different temperatures. When the print head is too hot, it can continue to drip plastic even when it is moving over areas that it is not supposed to be printing on.