Concrete-Top Side Table
For this post, I wanted to share a recent piece of furniture I built. It is a small side table with a concrete top and an oak stand.
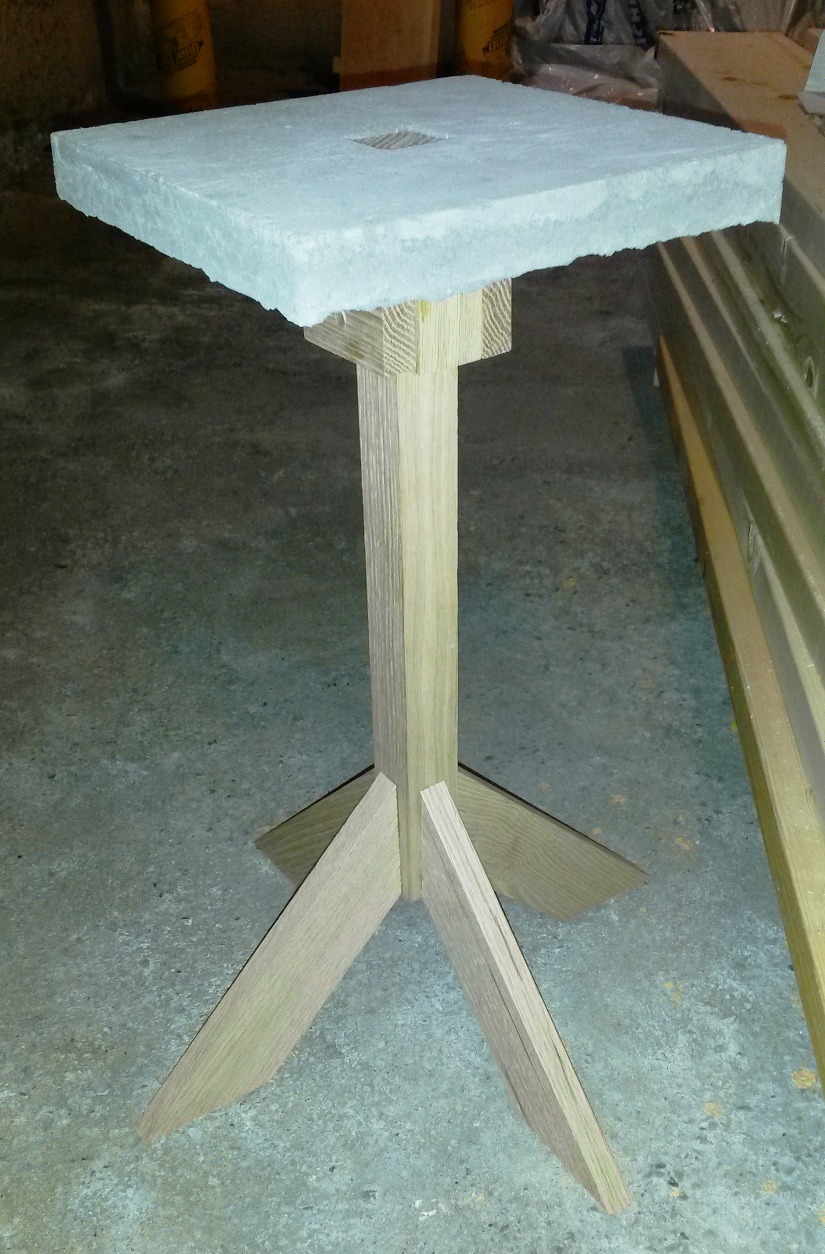
Overall, the table is 22" high and the top is 10" x 10". The main oak post is 1.5" on each side and 18" long; four legs are attached at 45 degree angles. The concrete slab is 1.25" thick. It includes two layers of screen mesh* (roughly separating the thickness into thirds) for reinforcing.
*The mesh I used was aluminum. I've seen some suggestions that aluminum can react with cement causing corrosion and that its thermal expansion is different, so hopefully it doesn't cause problems in the long term with cracking/spalling.
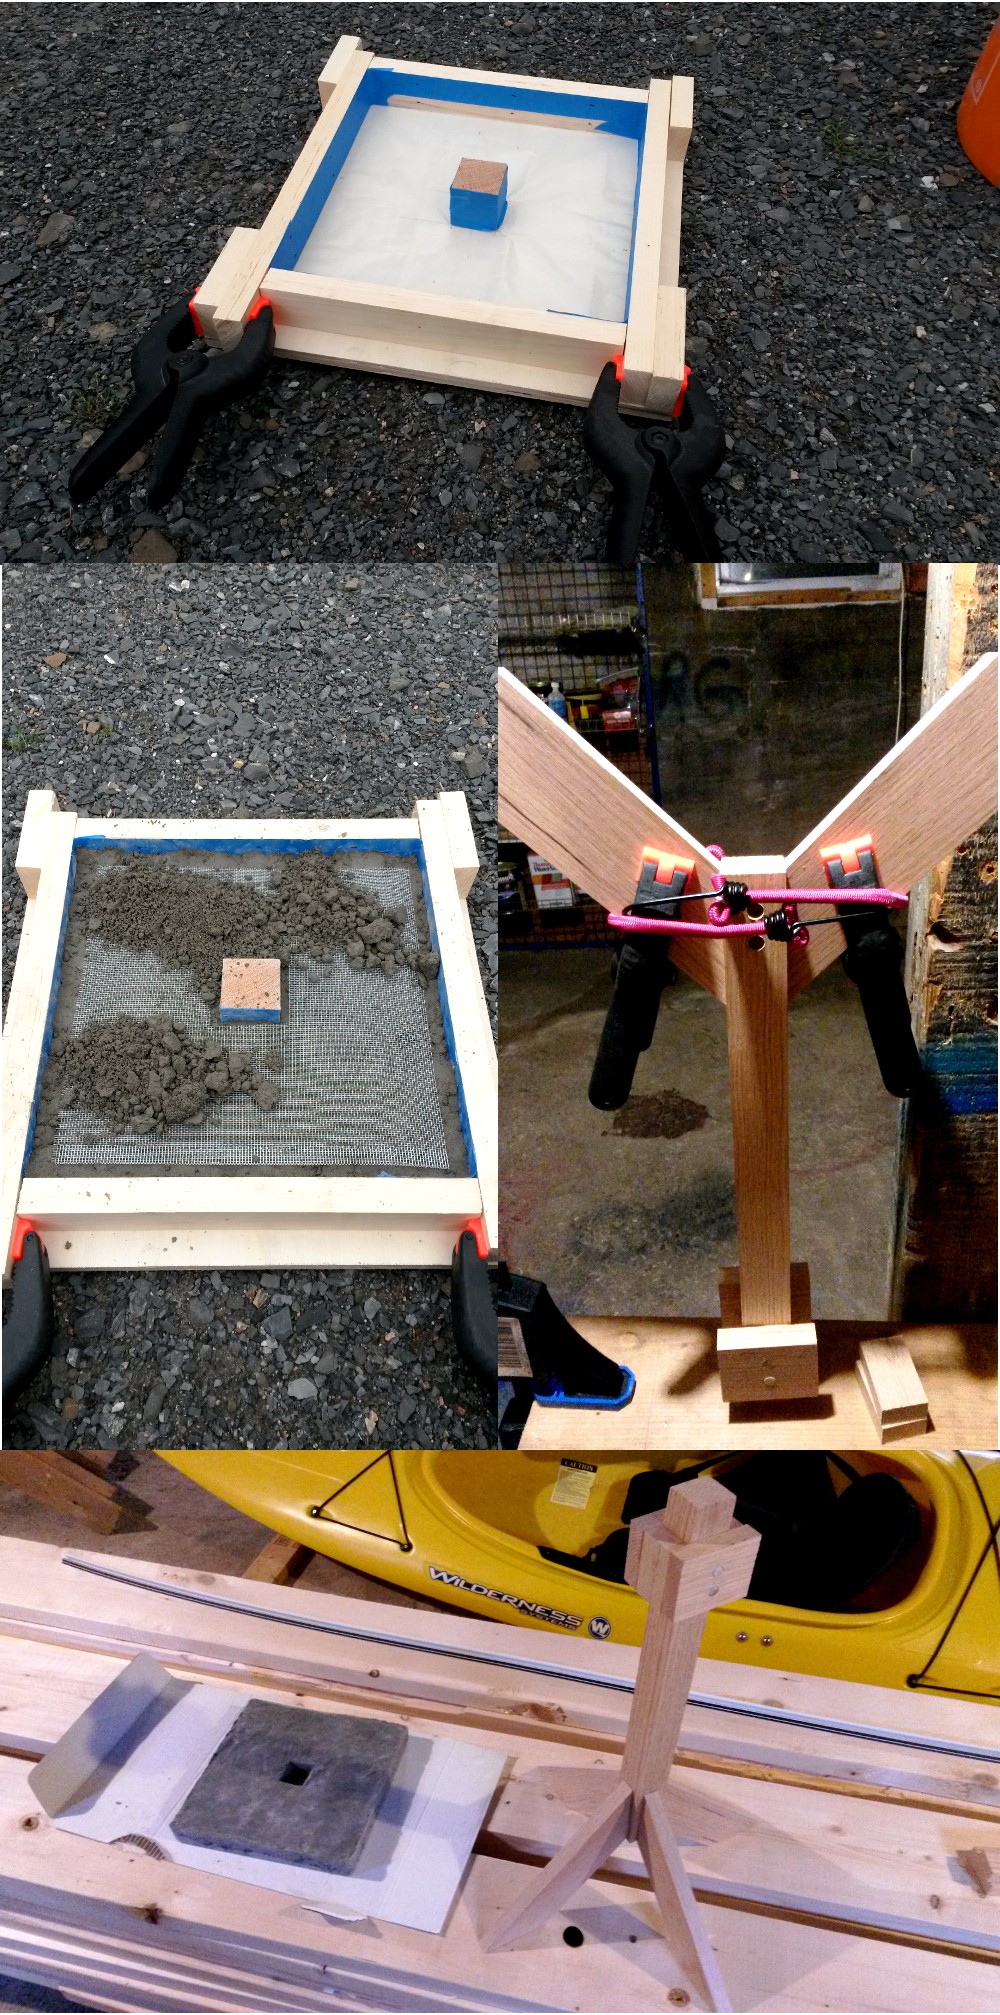
To prepare for pouring the concrete slab, I built a wooden frame and lined it with wax paper. The block used to keep a hole in the middle of the slab for the support post would not come out after the concrete had cured, so it had to be drilled and cut into pieces for removal.
The concrete mix was a fast-setting product from Quikrete with a compressive strength of 20 MPa after 24 hours and 40 MPa after a month. It's only workable for 20 – 30 minutes, which was barely enough time for working into the corners of the form and smoothing out the exposed face (which ended up being the underside of the table, so it was less important to have a smooth and finished look).
For attaching the legs and the collar around the post to support the slab, I used glue along with dowels inserted into drilled holes (using a jig made from a scrap piece of wood to ensure the hole spacing would be the same between pieces).
After building it, I finished it with three coats of a spray-on semi-gloss lacquer to both the wood and concrete.
Here are some photos taken during the construction process:
If you enjoyed this post, here are some other pieces I made not too long ago.